Display on/off - shutdown (englisch)
https://github.com/Archonw/Dynaframe-Stuff/blob/main/scripts/display-on-off-shutdown.py
From this Github page the code is used, with the help of which the HDMI signal of the Pi can be switched off and on, as well as the Pi shuts down during long presses.
In the first step, we will create a new folder "scripts" on the Pi, in which we will then create a file "button.py", which we will then call up in the second part via the "rc.local" at system startup.
Part. 1
The Raspberry Pi is connected to and logged into the network, so we can view and access it via our network. If we didn't change the name when we first set up the Pi, we find it under the name DYNAFRAMEPRO.
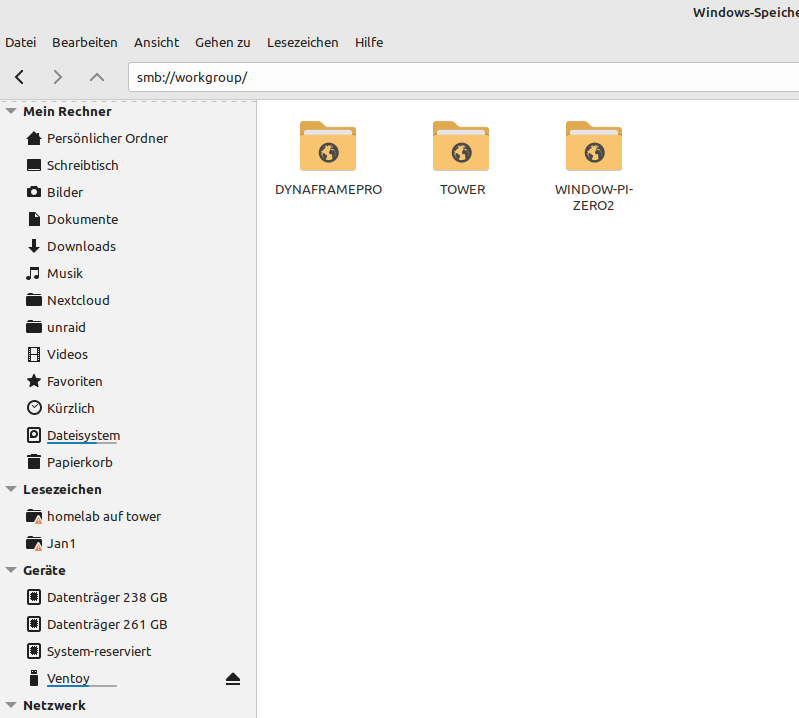
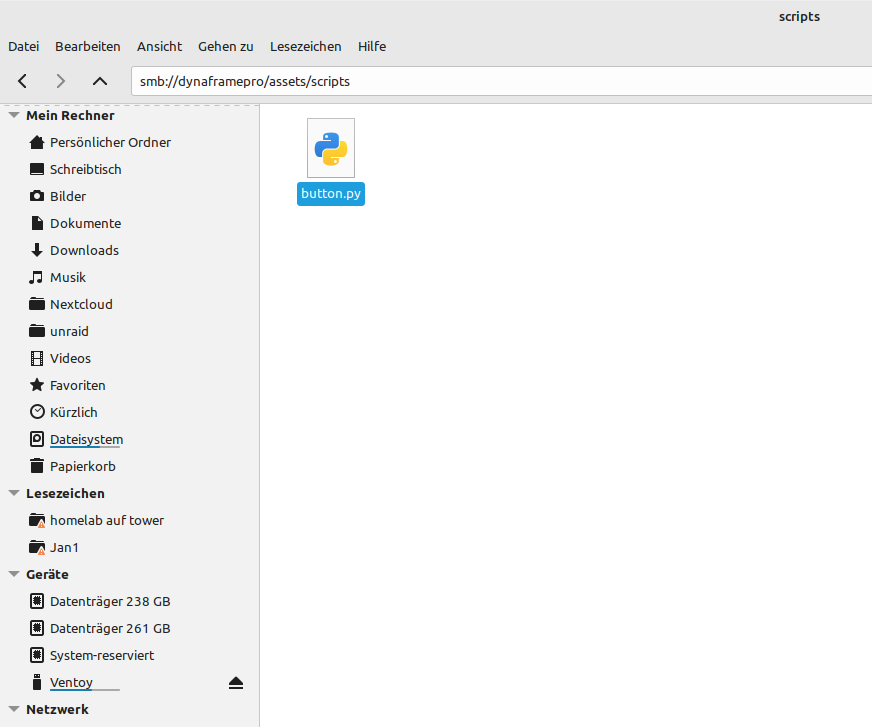
If we look at which folders are now displayed on our Pi, we can see, among other things, the folder "assets".
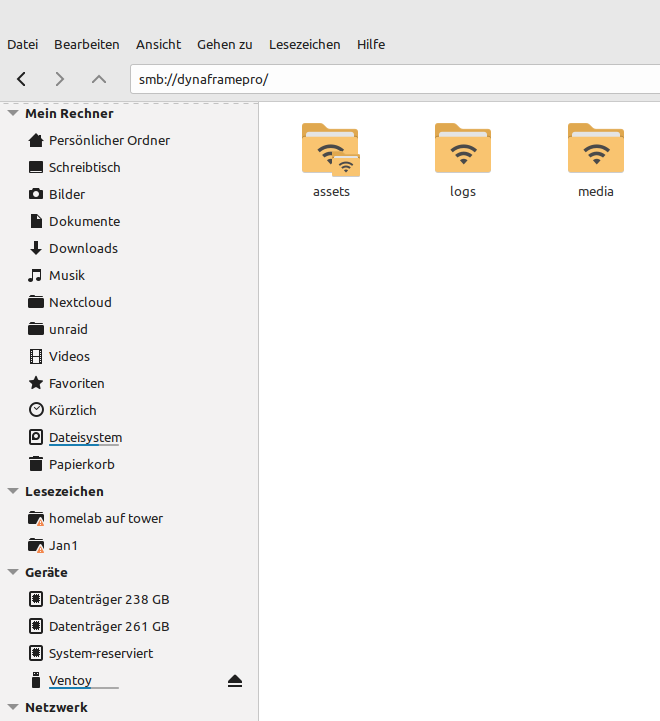
Some folders are included here. We create a new folder "scripts" here and navigate and the new folder into it.

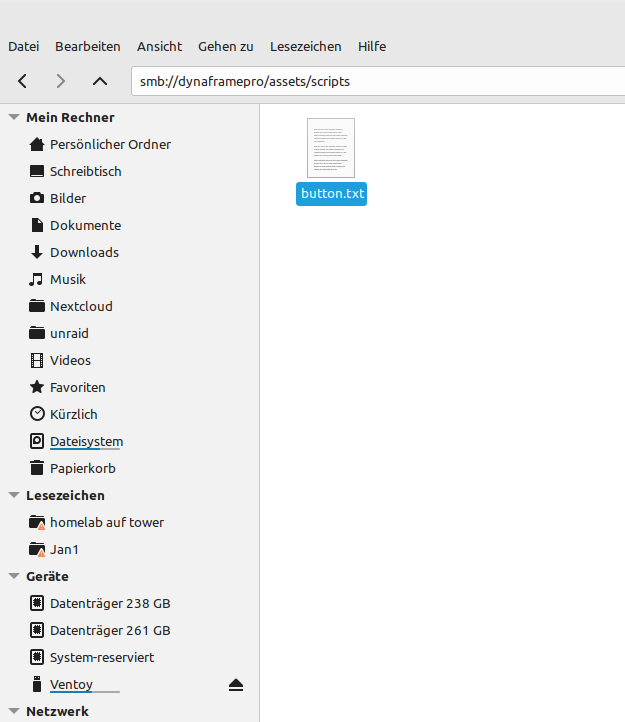
In the folder that is still empty, we create a file called "button.txt" and open it.
Here we copy the following code.
#!/usr/bin/env python
# -*- coding: utf-8 -*-
from gpiozero import Button
from subprocess import check_call
from signal import pause
import os
import requests
Button.was_held = False
button_pressed_time = None
def get_display_power_status():
result = os.popen('vcgencmd display_power').read()
return int(result.split('=')[1])
def toggle_display():
current_status = get_display_power_status()
if current_status == 1:
response = requests.get("http://127.0.0.1/command/?COMMAND=SCREENSTATE&VALUE=false")
print("Display off")
else:
response = requests.get("http://127.0.0.1/command/?COMMAND=SCREENSTATE&VALUE=true")
print("Dislpay on")
def shutdown():
print("Shutdown function called")
os.system('sudo shutdown now')
def held(btn):
btn.was_held = True
print("Button was held, not just pressed")
shutdown()
def released(btn):
if not btn.was_held:
toggle_display()
btn.was_held = False
btn = Button(19, hold_time=4) # Set your GPIO number and hold time here
btn.when_held = held
btn.when_released = released
# Warten
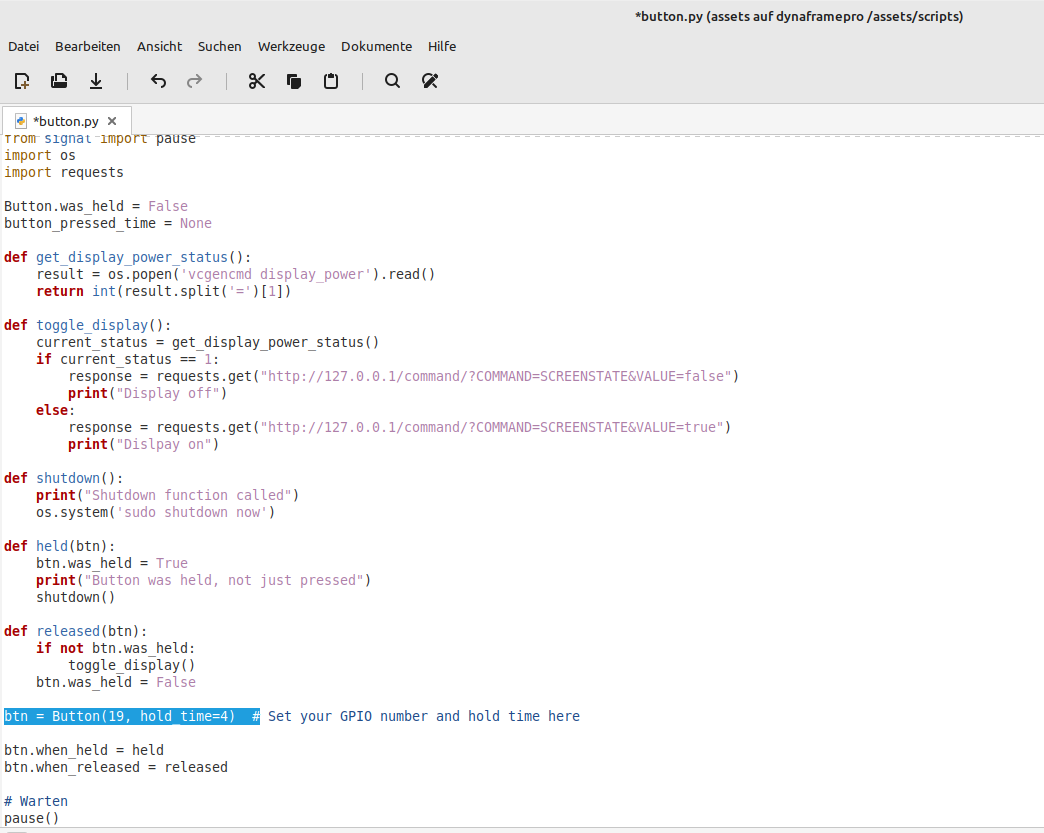
pause()Important: here the pin to which the button was connected to the Pi must be specified in line 40. In this case, it is pin 19.
The finished file should then look like this:
We can now save and close them.
Now we have to rename it to "button.py"
We are done with this window and can now close it.
Part 2
We have now created the necessary file so that we can call a Python script at startup and run it in the background. Now we have to make sure that this script is also called at system startup. There are a few ways to do this; we will take the path here via a file called "rc.local".
To do this, we either have to connect to the Pi via ssh, call up a terminal via a connected keyboard and mouse, or connect to the Pi via VNC and then call up a terminal on the Pi.
Once we have done this, we enter the following command in the terminal to start an editor that will open the rc.local file so that we can edit it.
sudo nano /etc/rc.local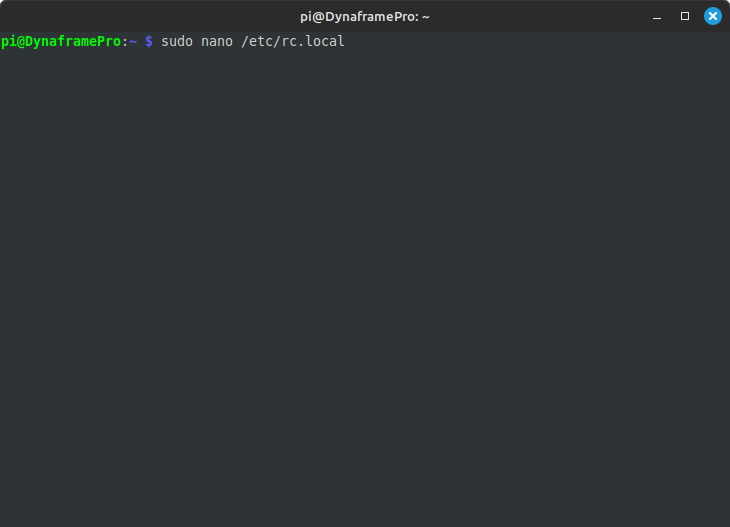
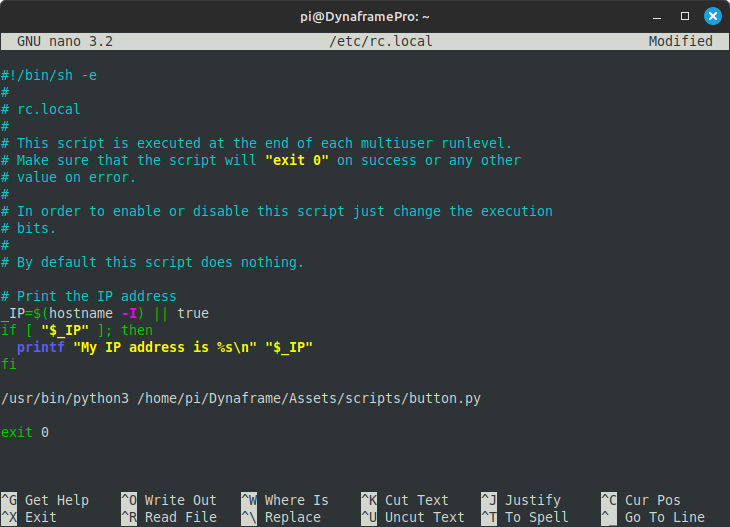
We insert this line just before the end.
/usr/bin/python3 /home/pi/Dynaframe/Assets/scripts/button.pyThis is what the file should look like now.
To close the editor and save the file we press "Ctrl+X" and then "Y"
Now all that's missing is a restart of the Pi and the button is ready for use.
No Comments